


Next.js is a popular web framework built on React. It provides optimizations and abstractions to help developers build fast and performant apps and sites.
In this tutorial, we will:
- build a basic Next.js blog with user authentication
- add PostHog to it
- set up the features of PostHog like custom event capture, user identification, and feature flags
Already know how to build a Next.js app? Click here to skip to the PostHog installation.
Creating our Next.js app
First, install Node (14.6.0 or newer) and then run:
Press "y" to install create-next-app if needed, name your app (I chose tutorial), select "No" for using TypeScript using the arrow keys, then press enter to select the defaults for the rest. Once installed and created, use the terminal go into the new folder with the app name you chose (mine is tutorial) and start the server:
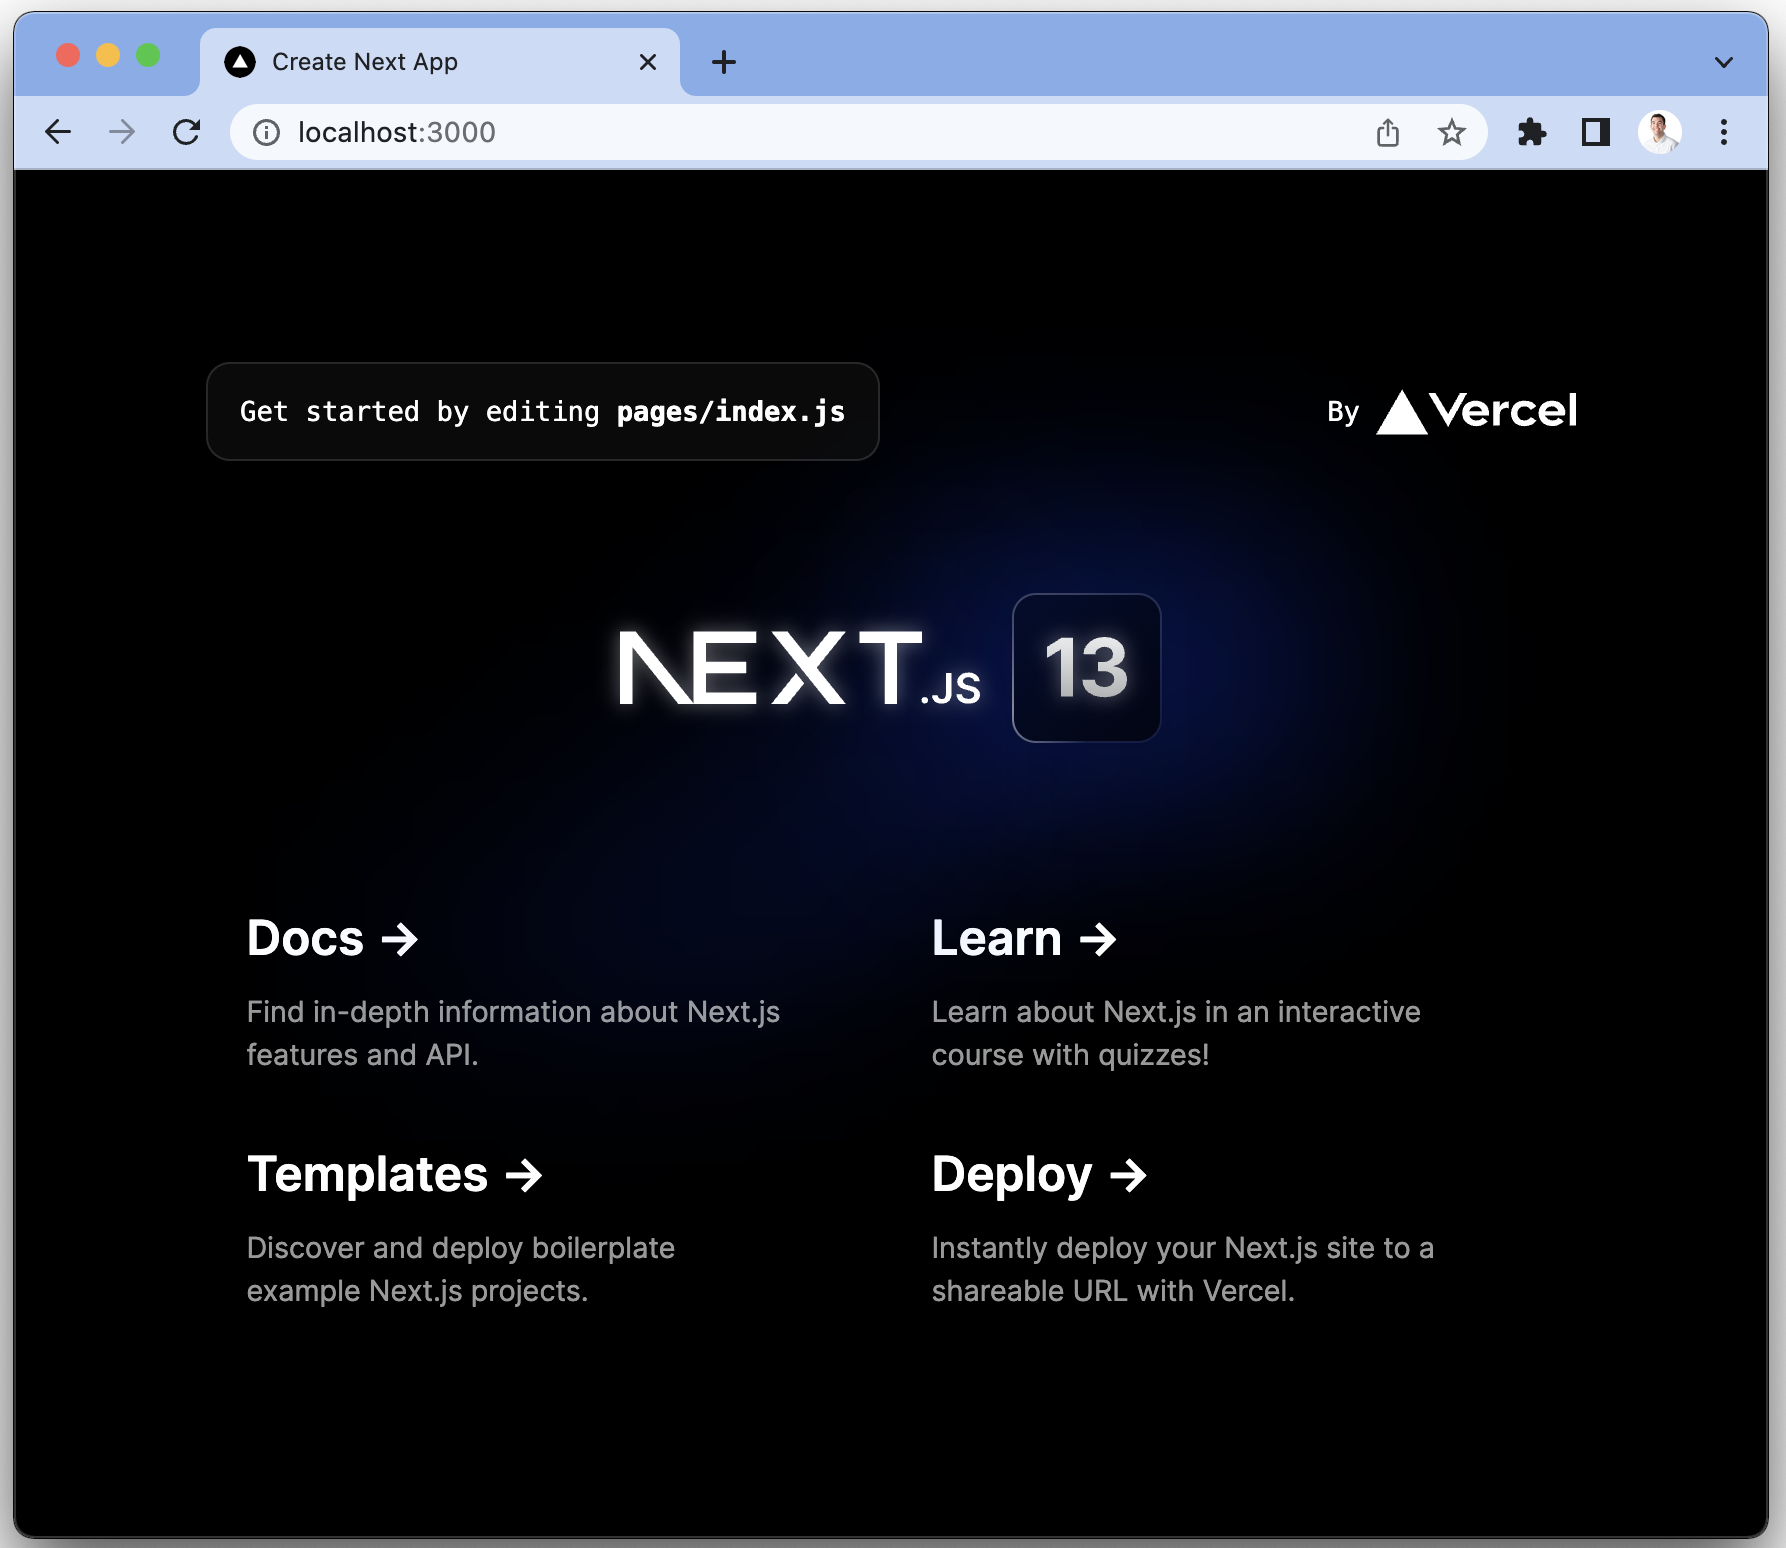
At your localhost, you should see a basic webpage like this:
Adding blog functionality to our Next.js app
The structure of our blog will be:
- An index home page showing all the blog posts.
- Detail pages for each of the posts
The blog posts are a static JSON file that we can fetch. To do this, create a blog.json file in the main app (tutorial) folder and add the details of your blog. We need an id, title, content, and author. You can customize or add details to this if you want.
Next, the main app (tutorial) folder, remove all the existing code in the page/index.js file, all the CSS in the styles folder, and the styles/globals.css import in _app.js.
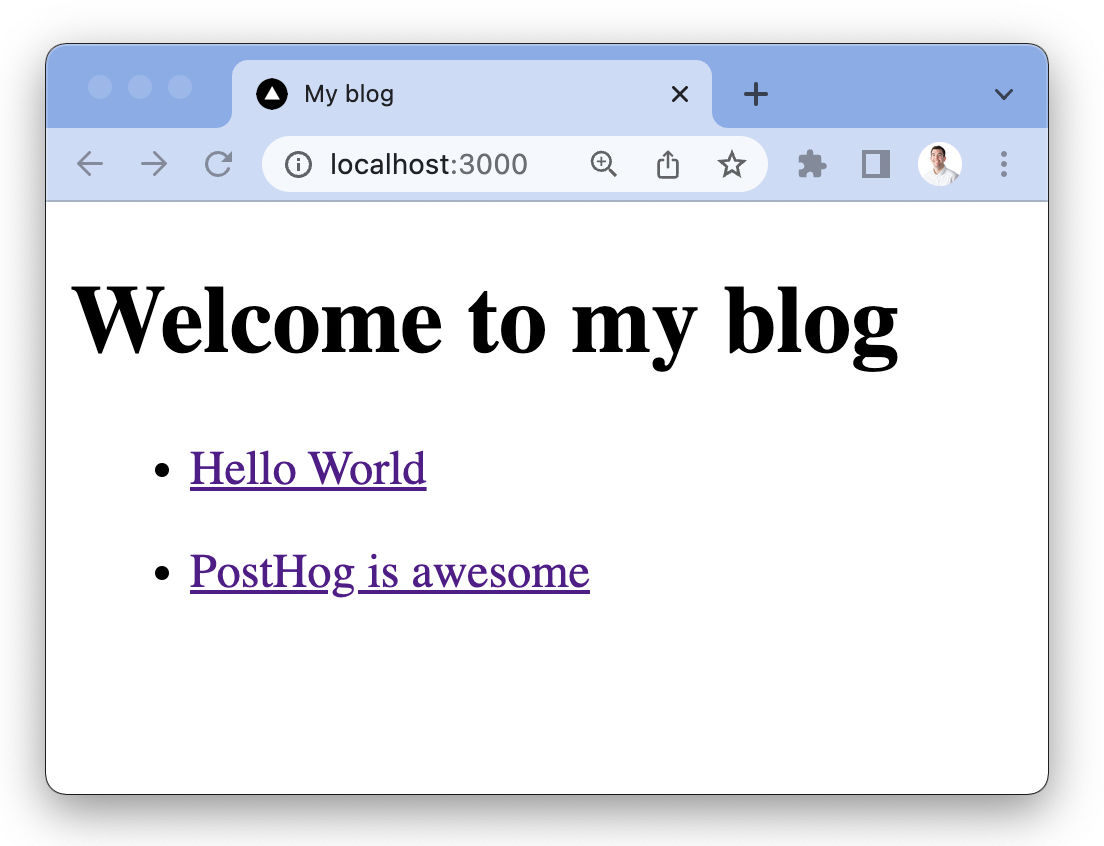
In pages/index.js, use the getStaticProps() method that Next.js automatically provides to get the posts from the blog.json file, then use map() to loop through, show details, and link to them. Like this:
This gives us a basic page that looks like this:
We also need the pages for the posts. In the pages folder, create another folder named posts and create a file named [id].js. Next.js automatically uses this to create routes to our posts.
Our [id].js is similar to our index.js file, but we want individual blog posts. To make this happen, we must:
- handle the paths by calling the
getStaticPaths()method, - pass the ID as a string to
getStaticProps()to get the right blog for the route - pass the post data to the component and render the data in HTML
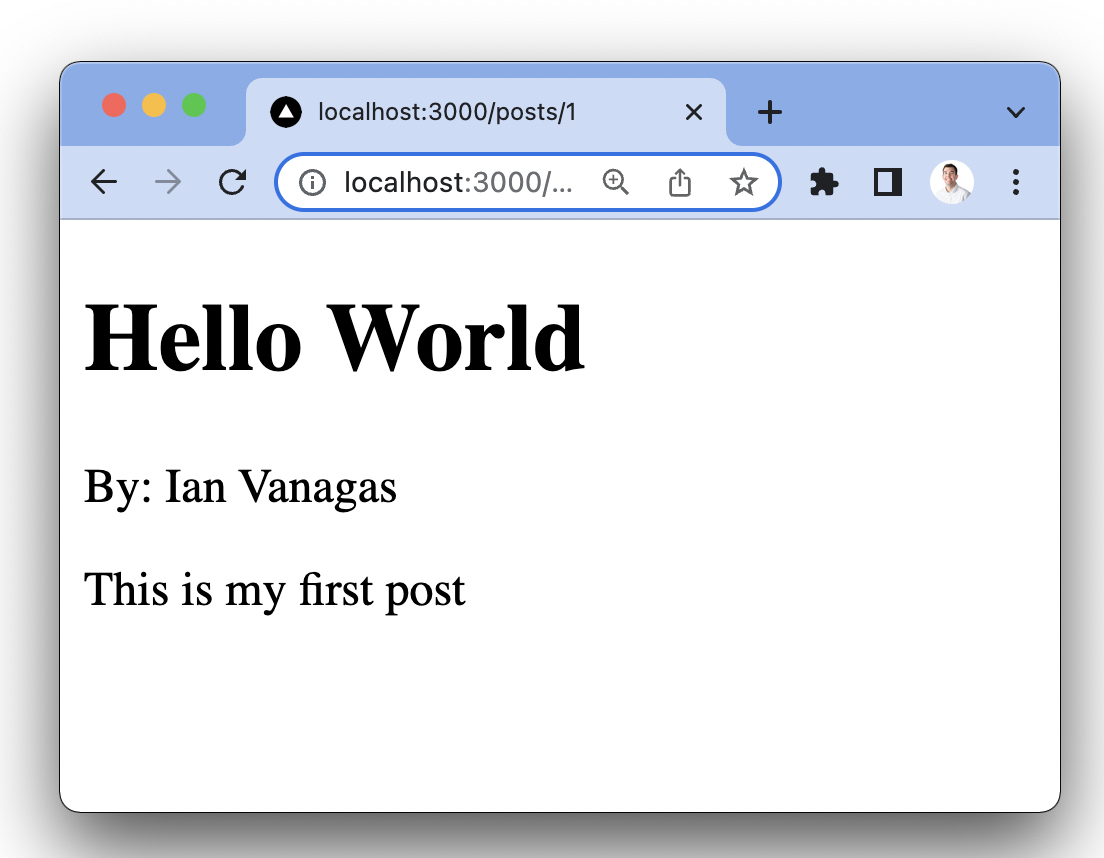
Like this:
Going back to our app, clicking on the links now brings us to a page that looks like this:
Adding authentication
Next, we want to add user authentication with a basic login and logout. This provides us information on users so we can identify and connect events to them with PostHog later.
NextAuth makes it easy to set up authentication with a provider like GitHub. To do so, first, install next-auth:
Next, create an API route for next-auth to use. To do this, in our pages/api folder, create a folder named auth, then a file named [...nextauth].js inside it. Inside the file, set up the GitHub provider like this:
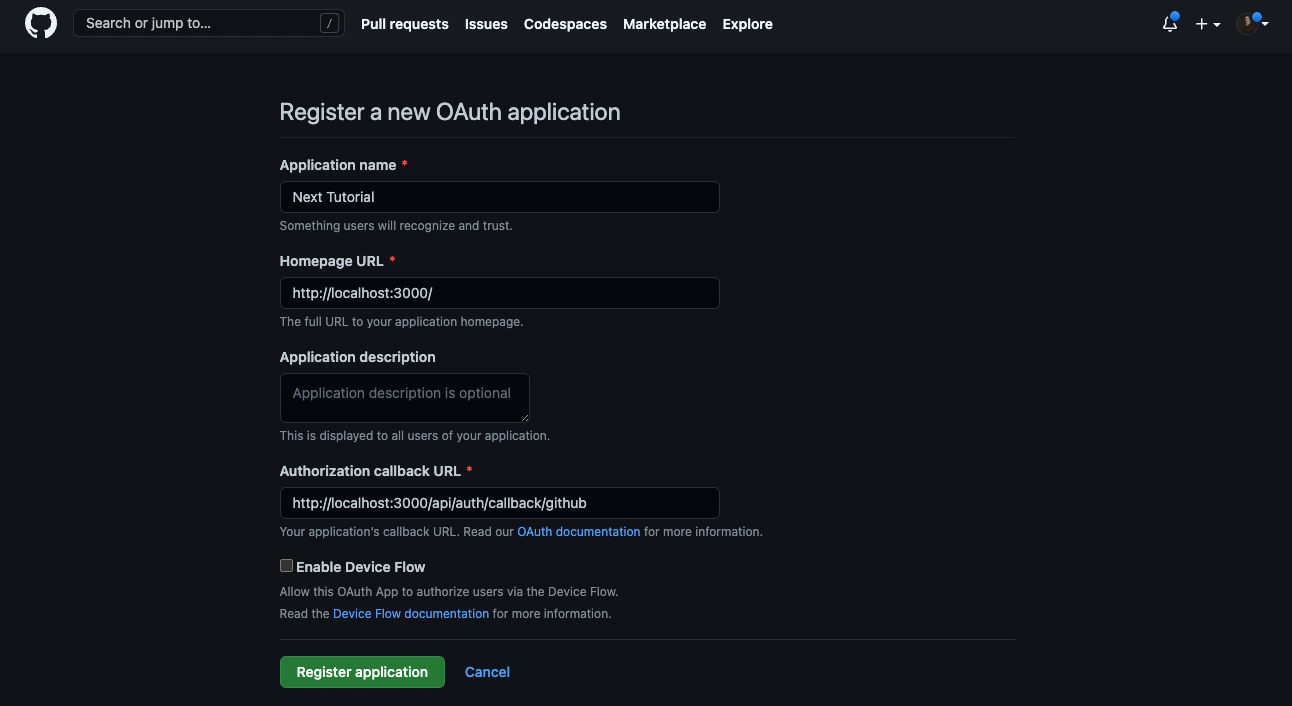
Next, get these details from GitHub by going to developer settings. Create a new OAuth app and get the client ID and client secret. Set the homepage URL to http://localhost:3000 and the authorization callback URL to http://localhost:3000/api/auth/callback/github.
With these, create a .env.local file in the main app (tutorial) folder and include the NEXTAUTH_URL (http://localhost:3000/ for now) and a NEXTAUTH_SECRET (which you can generate on this site or by creating a random 32-character string).
Setting up sessions
With NextAuth and GitHub set up, we now have the infrastructure to authenticate users. Now we can implement user sessions to let them log in and out as well as get their details. The first step to doing this is adding a SessionProvider from next-auth to _app.js like this:
Next, add the session details, and the ability to sign in and out to our index.js page. We can do this with the next-auth useSession() hook. next-auth also provides methods for signing in and out.
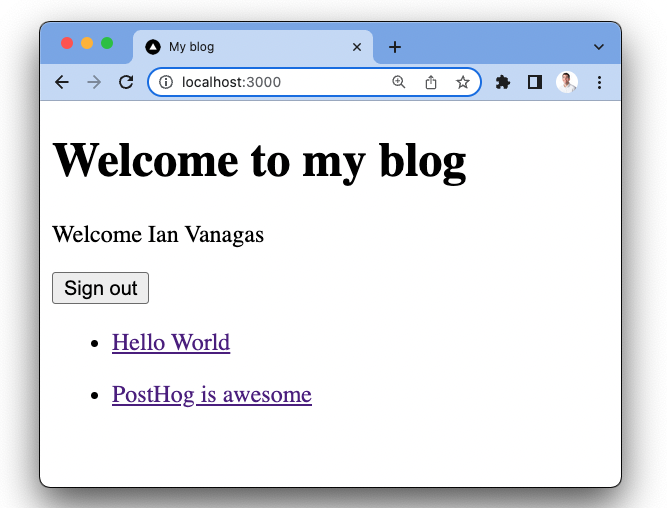
If there is a session, show details about the user and a button to sign out. If there isn’t a session, show a button to sign in. Together, it looks like this:
When you click sign in, you go through the sign in flow with GitHub, and get redirected back to the app with an active session.
Once this is working, we have all the functionality we want in our Next.js app and it’s time to add PostHog.
Adding PostHog
At this point, you need a PostHog instance (signup for free). Once created, get your JavaScript script snippet which is found in the getting started flow or your project settings.
Copy the snippet (minus the <script> tags) and go to pages/_app.js. Import the Next.js <Script> component from next/script, then paste your snippet in the dangerouslySetInnerHTML property of the <Script> component. You can also just copy the code below and change the details of the posthog.init line (project_api_key and api_host) with your own.
Once saved, go back to your app and click around, you should see events start to populate in your PostHog instance.
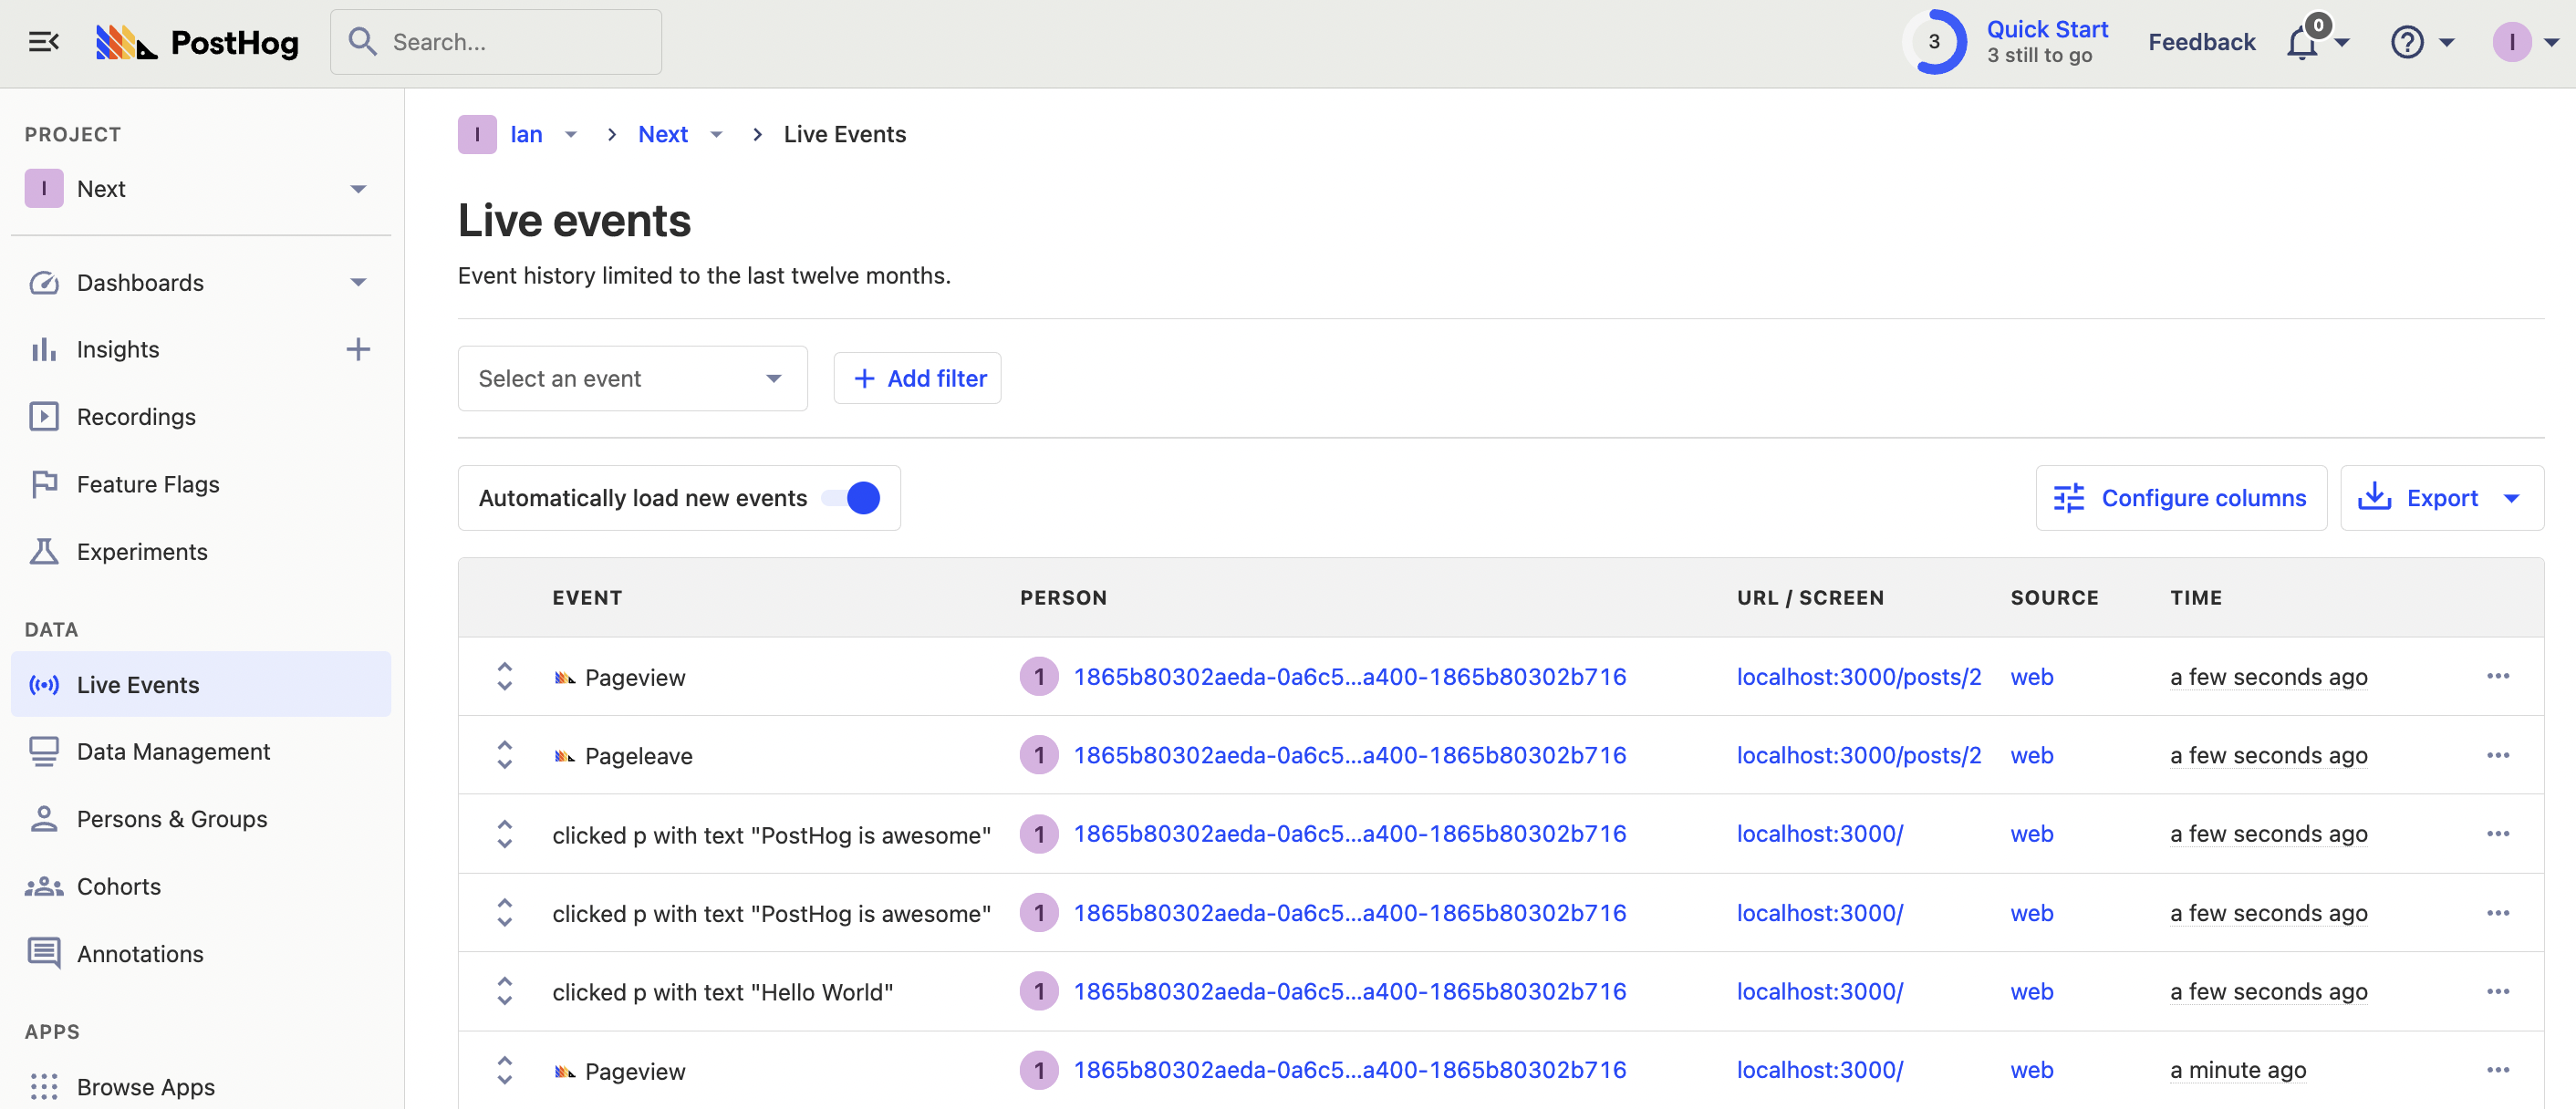
The snippet autocaptures clicks, inputs, session recordings (if enabled), pageviews*, and more. It also provides access to the posthog-js library which we use to set up the rest of the features.
Capturing pageviews in Next.js
When testing PostHog, you might notice pageview events aren’t captured when you move between pages. This is because Next acts as a single page app. The app does not reload when moving between pageviews which does not trigger PostHog to capture a pageview.
To solve this, we can capture a custom event when the route changes using next/router in _app.js with useEffect. It looks like this:
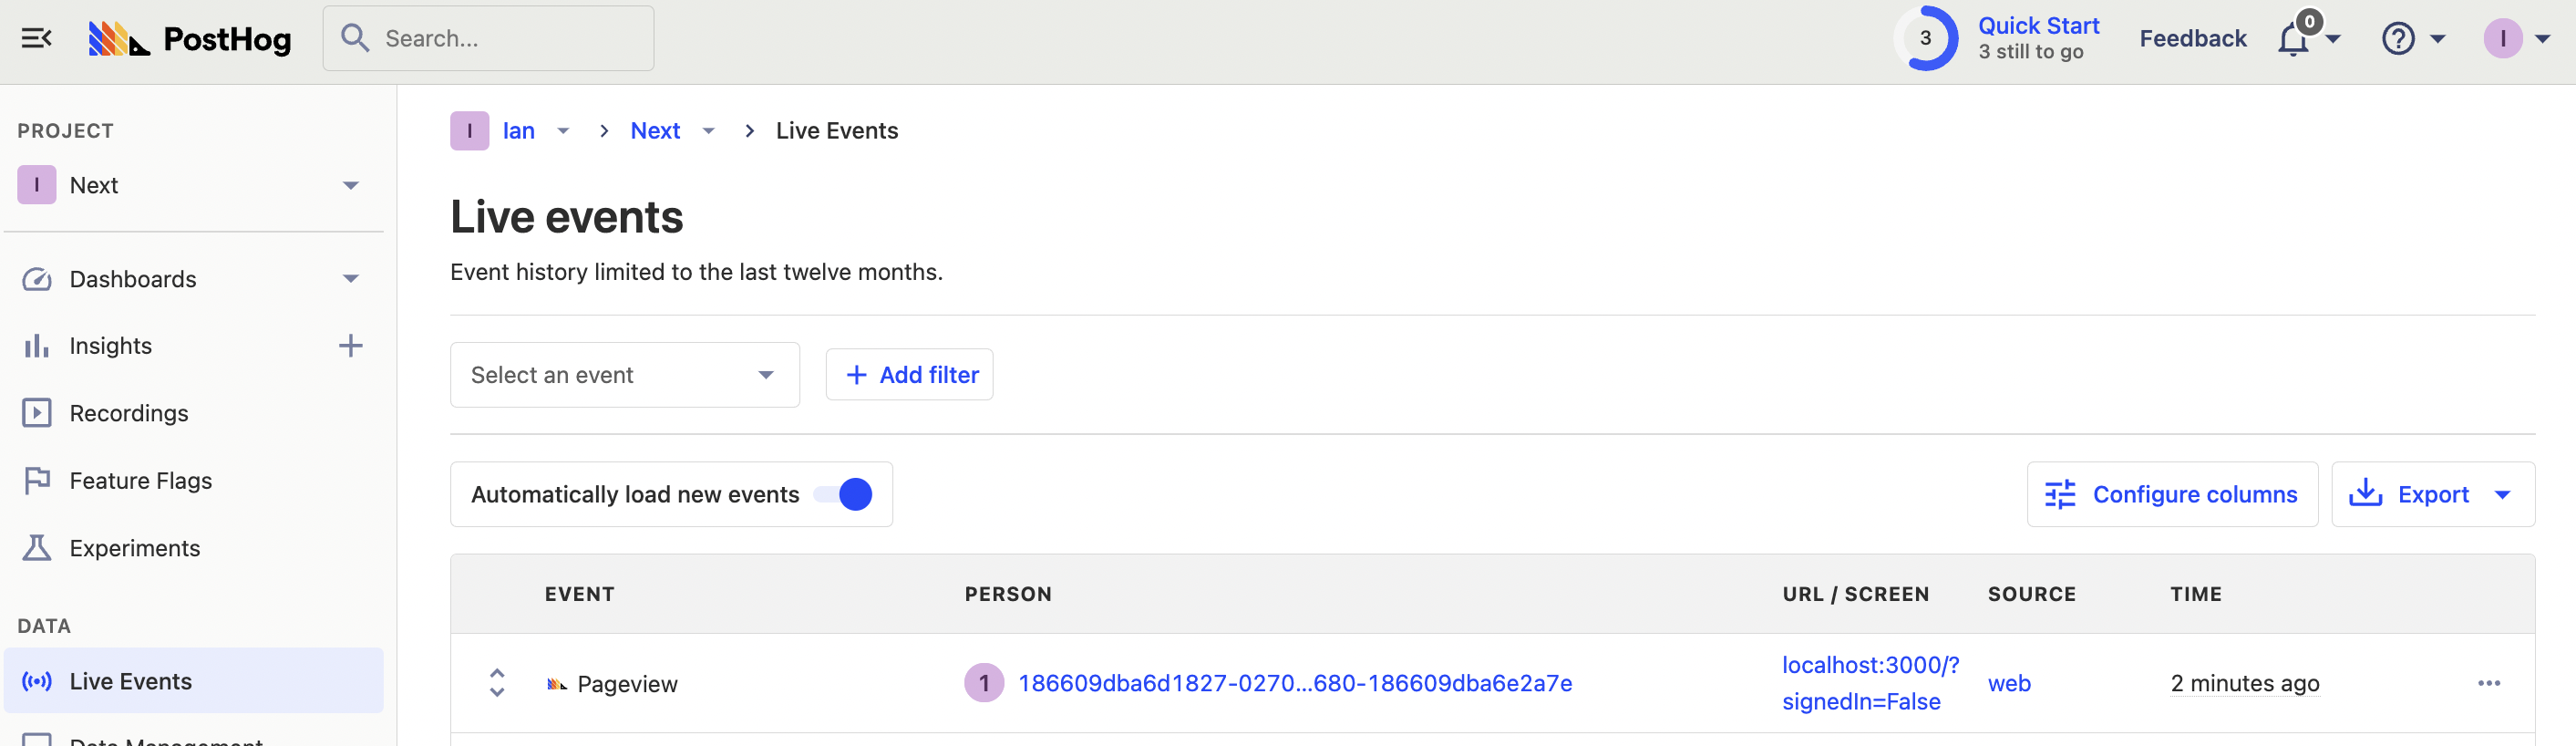
Once you set this up, navigating between pages captures pageviews for each. The routes show up in the URL/Screen column in PostHog as well.
Note: when in React strict mode,
useEffectruns twice: once to mount and again to remount. This means pageviews trigger twice. When you deploy and run an app in production, this doesn’t happen. To turn off strict mode in development, go tonext.config.jsand setreactStrictModetofalse. Find more details about strict mode in the React documentation.
Capturing custom events
You can use the same posthog.capture call to capture custom events in your other components.
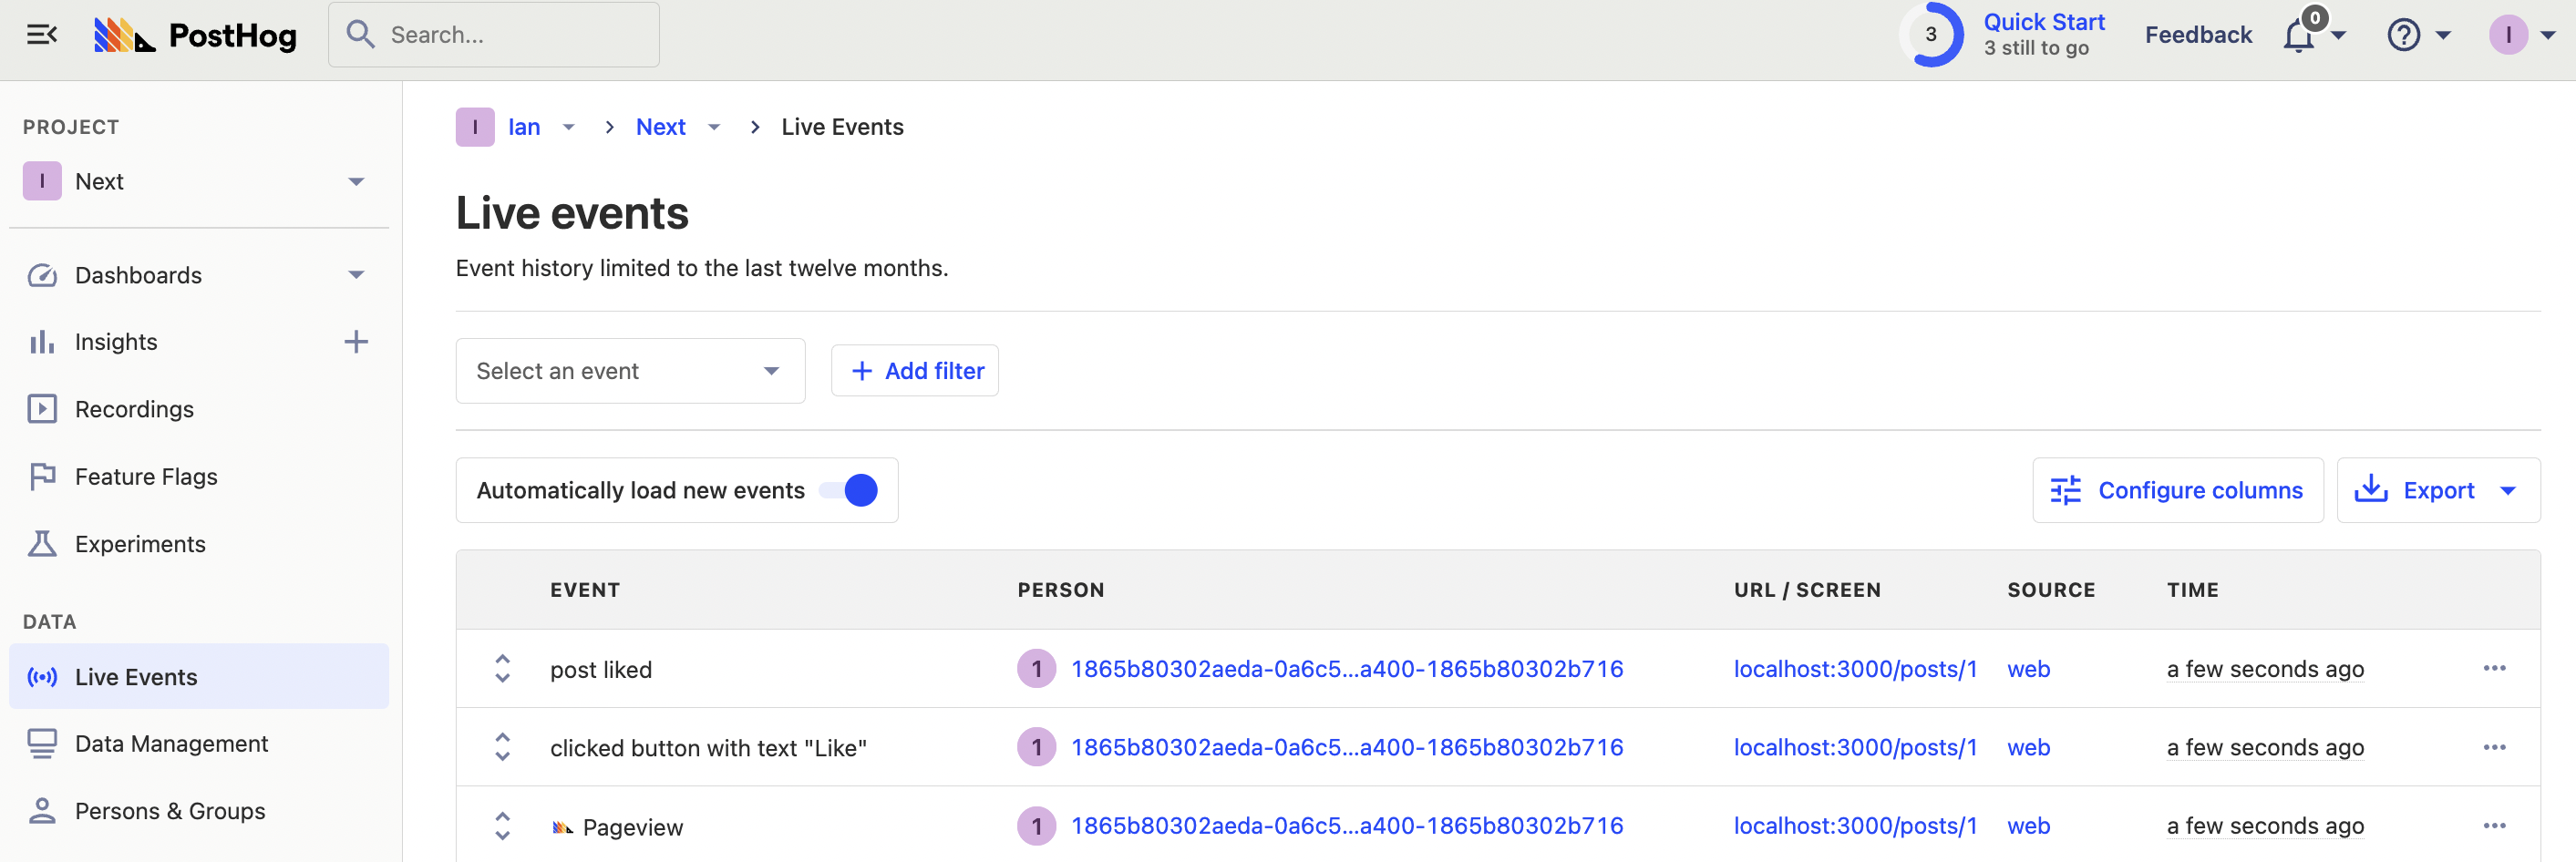
For example, in posts/[id].js we can add a "like" button that includes the article details as properties. To do this, create a button and connect it to a function that captures a post liked event with the post title and author. This looks like this:
Go to a post, click "like," then check your PostHog instance to see the custom event show up.
Identifying users
Even though you are logged in, you are still treated as an anonymous user by PostHog. This is because we haven’t set up user identification yet.
To connect anonymous user IDs with logged in user IDs, use an identify call with the email from their session. To do this, we must do a few things:
- Add a param to the
signInmethod to redirect back to a URL with a param telling us the user just signed in. - Check for that param using the router.
- Identify using
posthog.identifywithsession.user.email - Clear the params from the URL
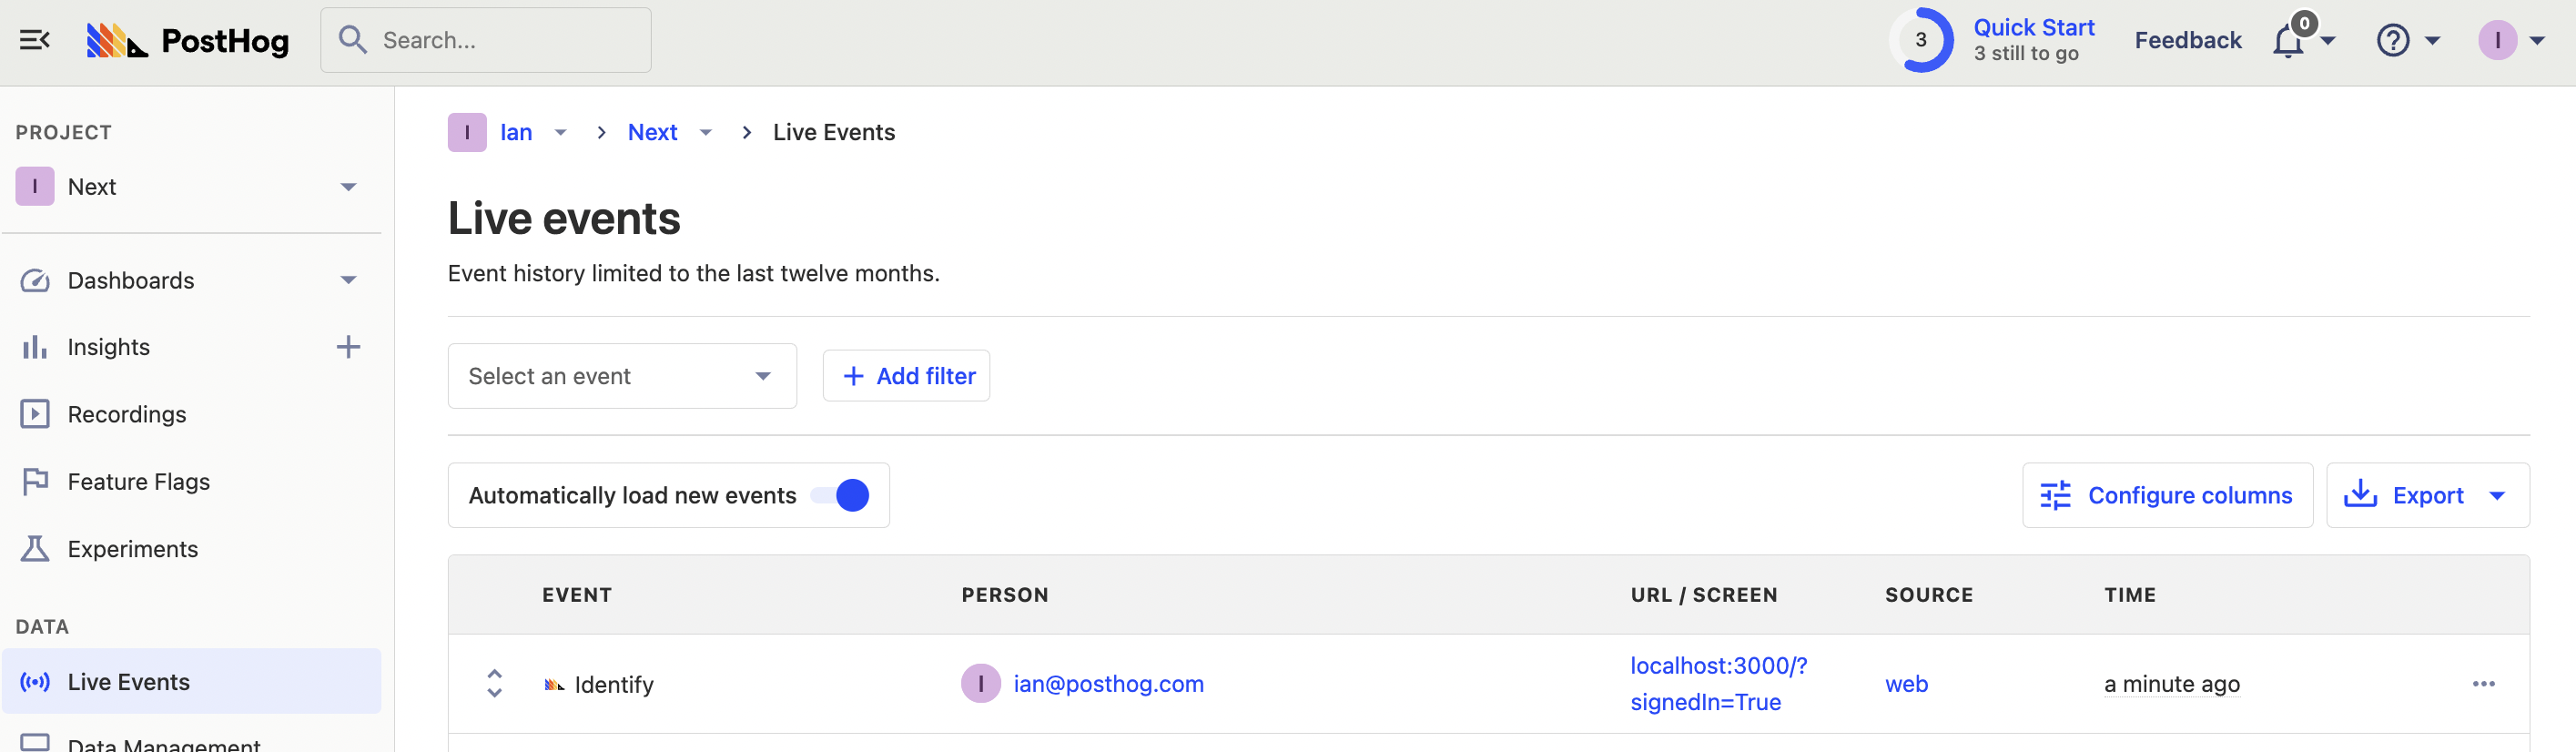
Once we implement these changes, our index.js file now looks like this:
Now, when you sign in, this triggers an identify event in PostHog and events from the anonymous user connect with the identified person.
Resetting identification
Because of how identification in PostHog works, logging out in our app does not automatically disconnect the person events are connected to. Events sent after you log out are still connected to your identified user, even if you log in as a new one. To reset identification, we must call reset() when a user logs out.
To set this up, we do something similar to what we did with user identification. We redirect to a URL with a signedIn=False param and then call reset if that param exists. This looks like this:
When you log out now, PostHog creates and connects events to a new person when you next load the page. This person is disconnected from your old anonymous and identified person.
Setting up and using feature flags
The last feature of PostHog we are going to set up in our Next.js app is feature flags. There are multiple ways to implement feature flags in Next.js. We’re going to cover the two most important ways here: client-side rendering and server-side rendering.
For both, use them to show a call to action on our blog pages.
To start, create a feature flag in your PostHog instance. Go to the "Feature Flags" tab, click the "New feature flag" button, enter blog-cta as the key, set "Release conditions" to 100% of users, and press save.
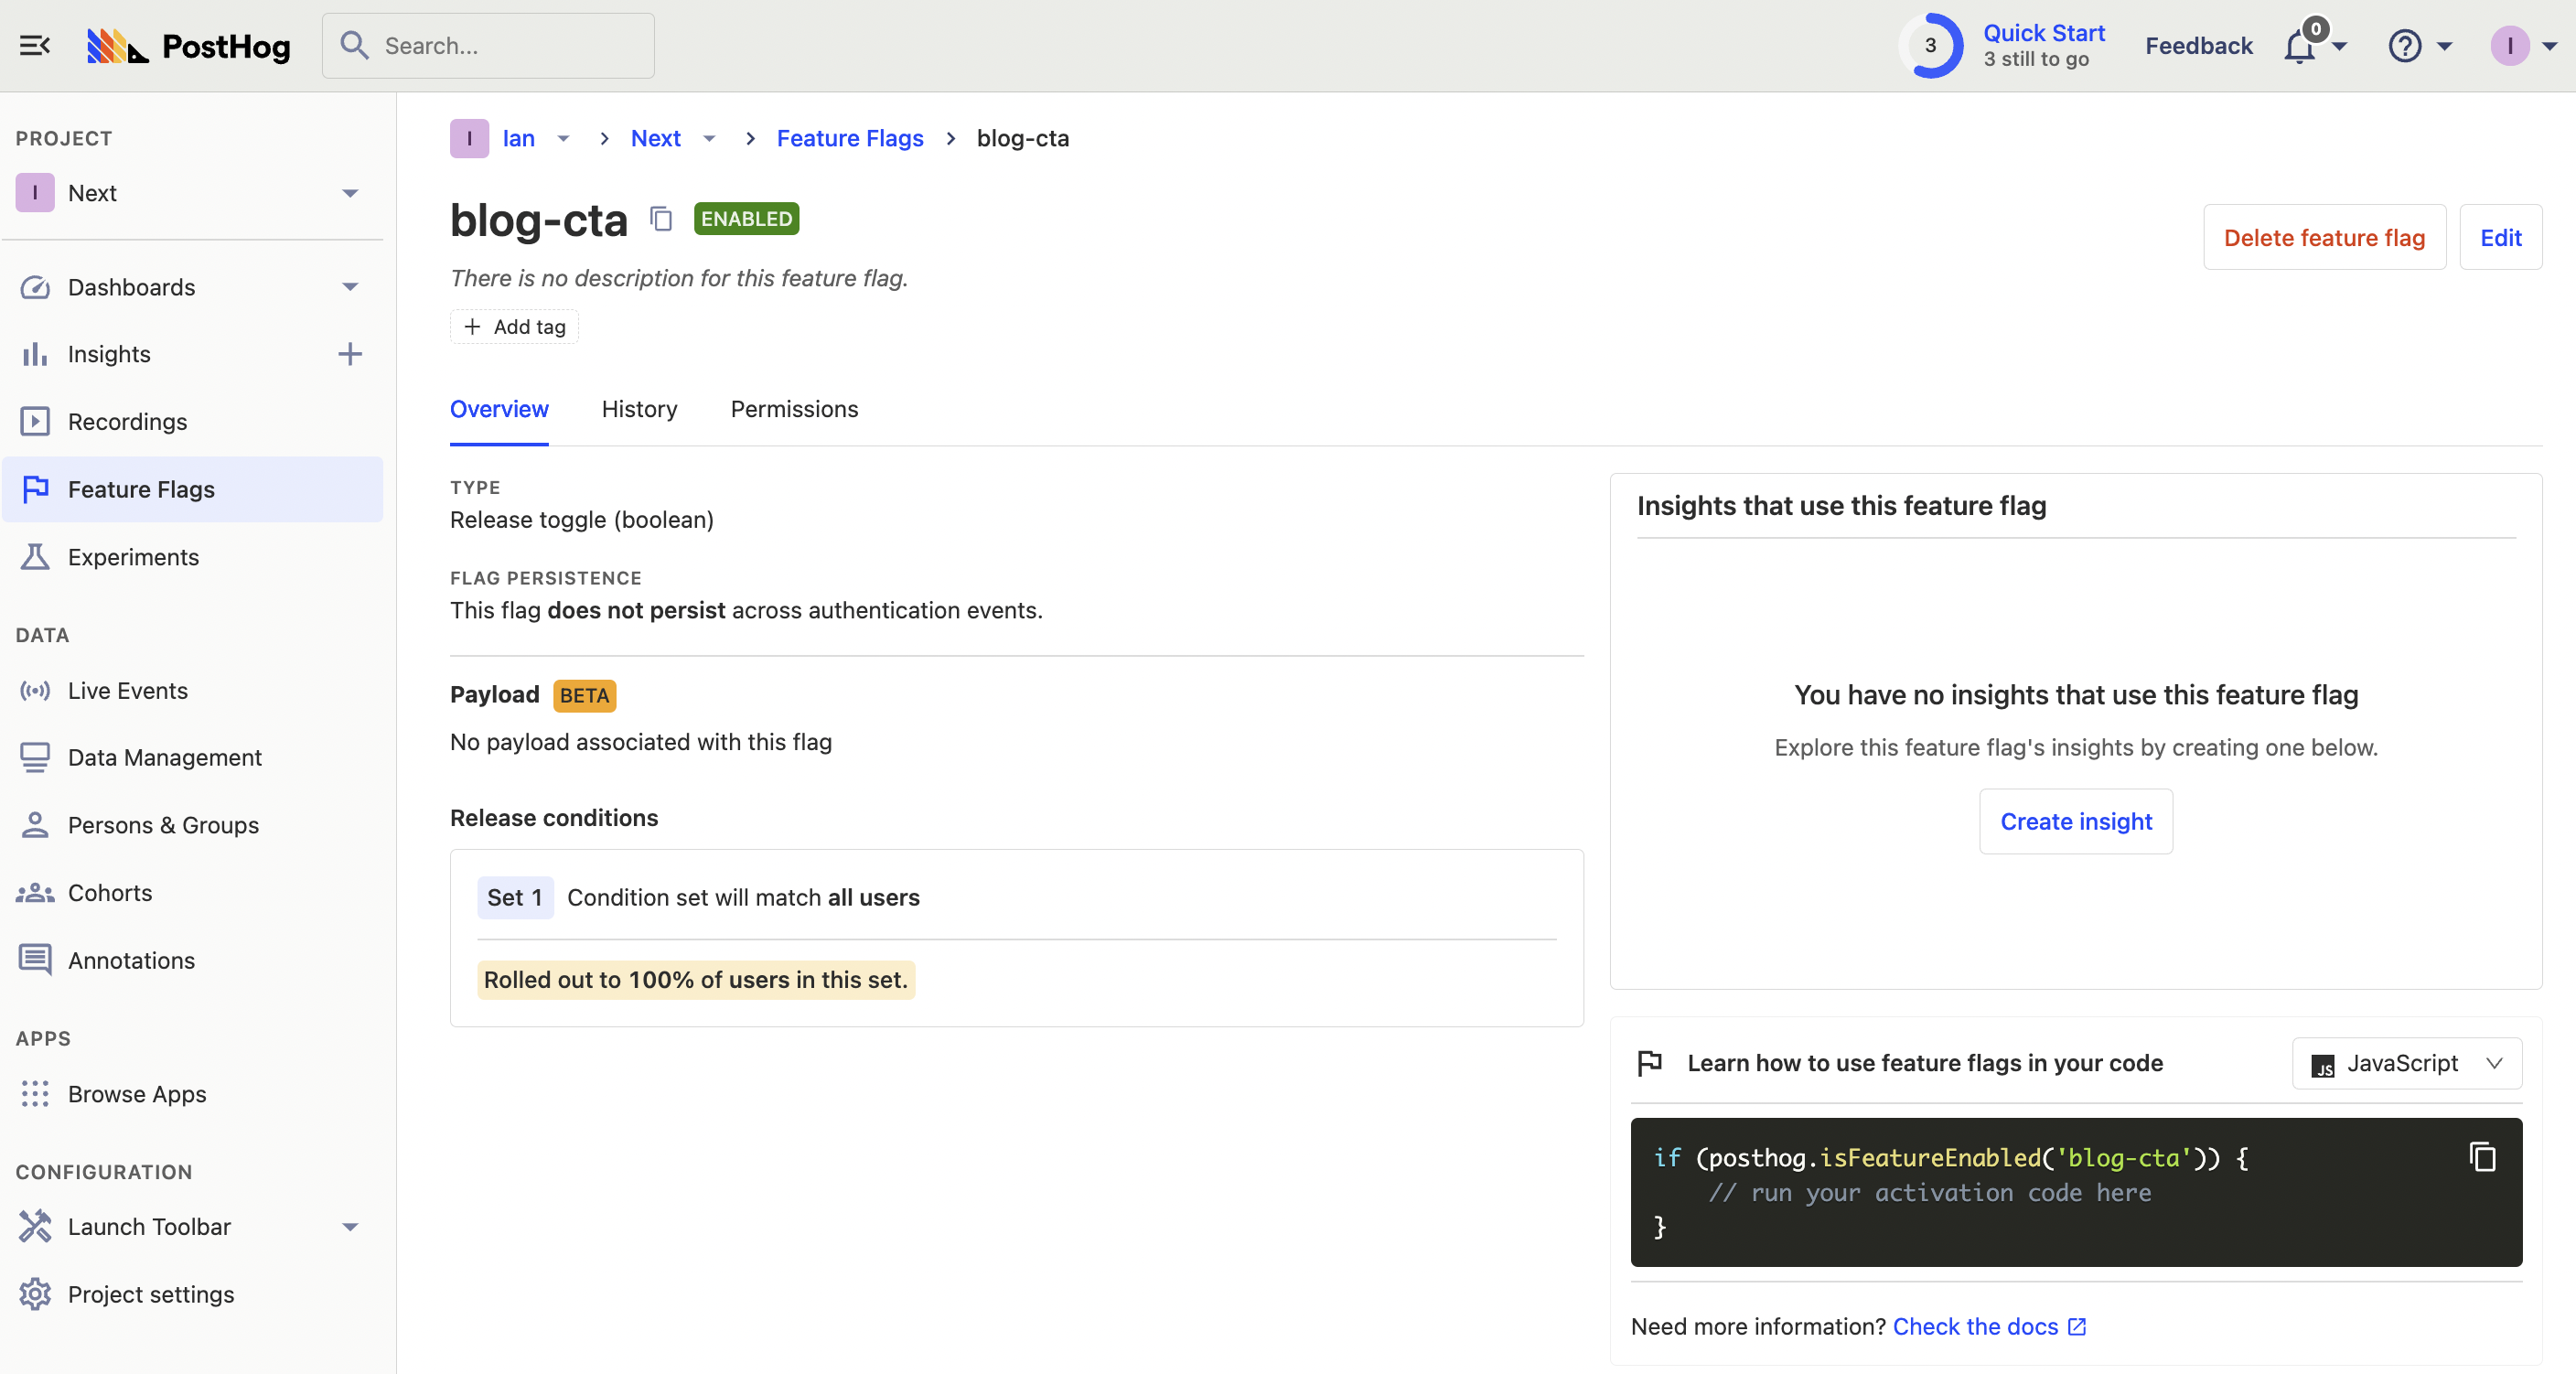
This gives us a basic flag to add to our app.
Client-side rendering feature flags
To implement this flag in our app, start with client-side rendering.
The key to client-side rendering is waiting for PostHog to load and then waiting for the flags to load. If you try to get a flag before PostHog loads, it won’t work. If you try to call a flag before they evaluate, it won’t work either.
To make sure PostHog is loaded, we create a global state for it and provide that state to the rest of the app. We then check the PostHogState in our posts, and request feature flags once available. Finally, once the evaluated feature flags return, we update the client to add the CTA (if the flag is true).
In _app.js, create a PostHogStateContext, then set up the state in our app function, and wrap our main app in a provider for that context.
In our posts/[id].js file, we must:
- get the
PostHogStatecontext - set up a callback for when feature flags load with
posthog.onFeatureFlags - when the feature flags load, check the
blog-ctaflag we created earlier - set the state for the CTA component
Like this:
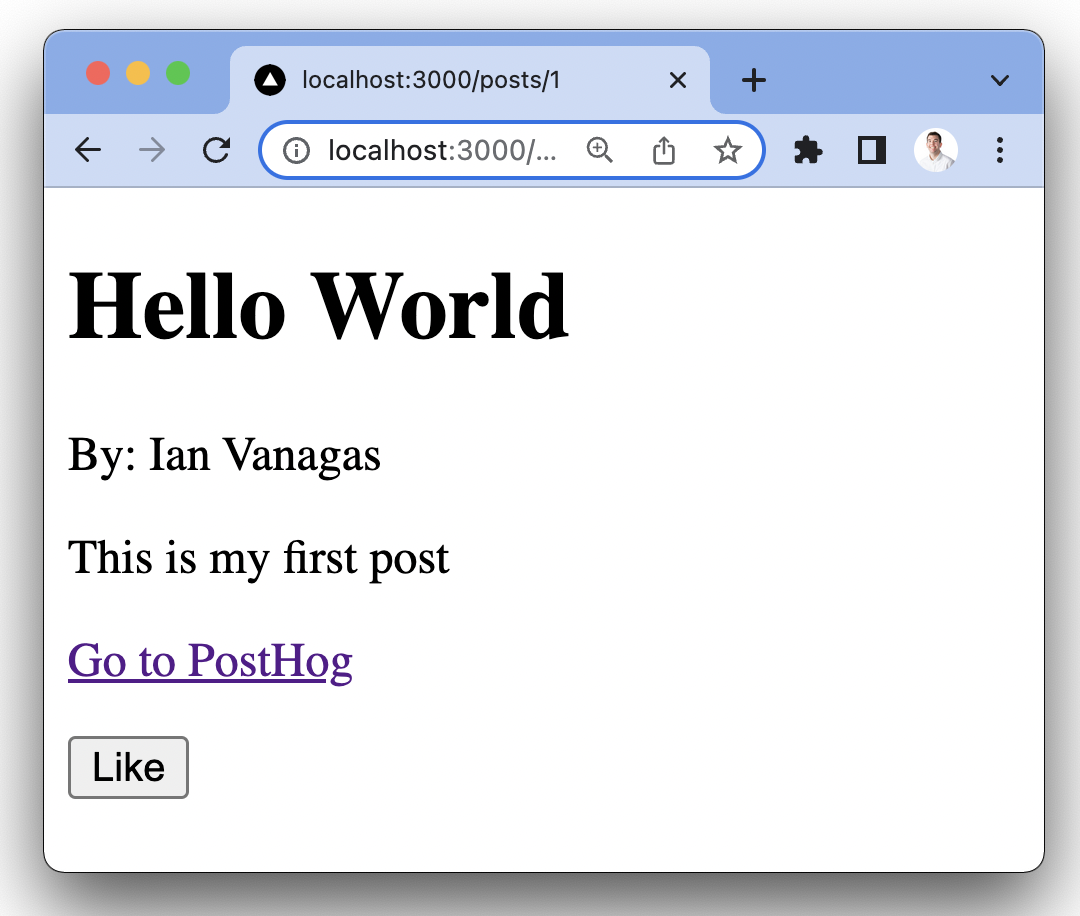
Once done, you should see a call to action on your blog page.
Server-side rendering feature flags
When you reload the page, you might see that the CTA takes time to load. This is because it takes time:
- for PostHog load
- to request and evaluate the feature flags
- to update the client
The code we wrote in the client-side rendering section did all of this after the page initially loads. There is a way to remove client-side rendering and have CTA display immediately on page load.
A core benefit of Next.js is the automatic page load optimizations. Right now, our [id].js is using the getStaticProps method to load the data for the page, but we can use getServerSideProps instead.
Using getServerSideProps enables us to evaluate the feature flags before the page loads, using the PostHog Node library and the next-auth session.
First, install the posthog-node library:
Then, rewrite our post component to use getServerSideProps and evaluate feature flags. We can use posthog-node to create a client that we use to getAllFlags for the user. Once that completes, pass that flag data to the component so it is ready before the client loads.
We can still use the client-side rendering as a fallback, such as for new users without PostHog IDs or users without sessions.
This looks like this:
Now, when you go to reload your post page (while signed in), the CTA loads right away.
You now have a basic Next.js app with user authentication and many of the features of PostHog set up. You’re ready to customize your app or add more of PostHog’s features like group analytics or experiments.